Getting an Authentic Film Look With Dehancer
Editing digital photos to achieve an authentic film look is quite the challenge. I attempted to match digital images with professional lab film scans as faithfully as I could with Dehancer Film Emulation.
Nick
8/29/20255 min read

Full Dehancer review available on YouTube
Note: The compression Algorithm used by YouTube is notorious for ruining film grain. Resulting in the grain used in this video looking nothing like the raw Dehancer output :(
What is Dehancer?
How they describe themselves:
"Dehancer is film emulation software developed over a decade of lab-based research on genuine film stock, delivering an authentic analogue look while offering tools for creative color grading."
I have to say I completely agree with their own description but, I'll add that Dehancer is a plugin that runs on top of popular photo and video editors as well as a stand alone application for web and IOS. Providing dozens of film looks and realistic analog-like effects such as film grain, halation, and bloom.
Film Profiles
Dehancer offers over 60 film film profiles including classics like Kodak Portra and Fujichrome Velvia to more experimental looks like LomoChrome Purple. The Fujichrome Provia 100F is my favorite profile so far.
Dehancer has provided me with a free license for review. All opinions are my own.
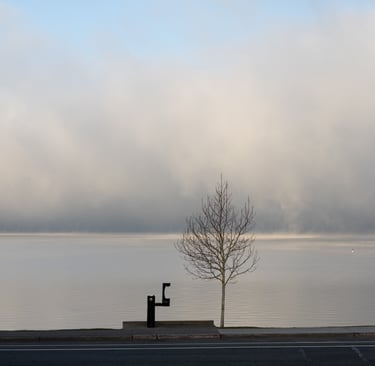
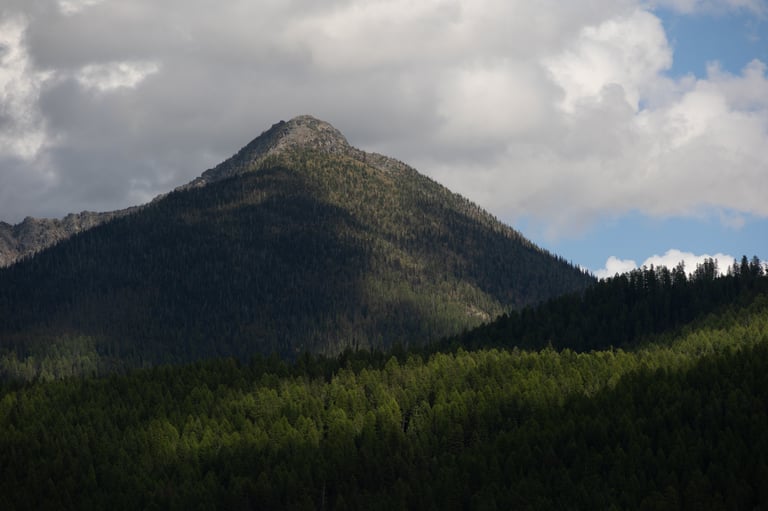
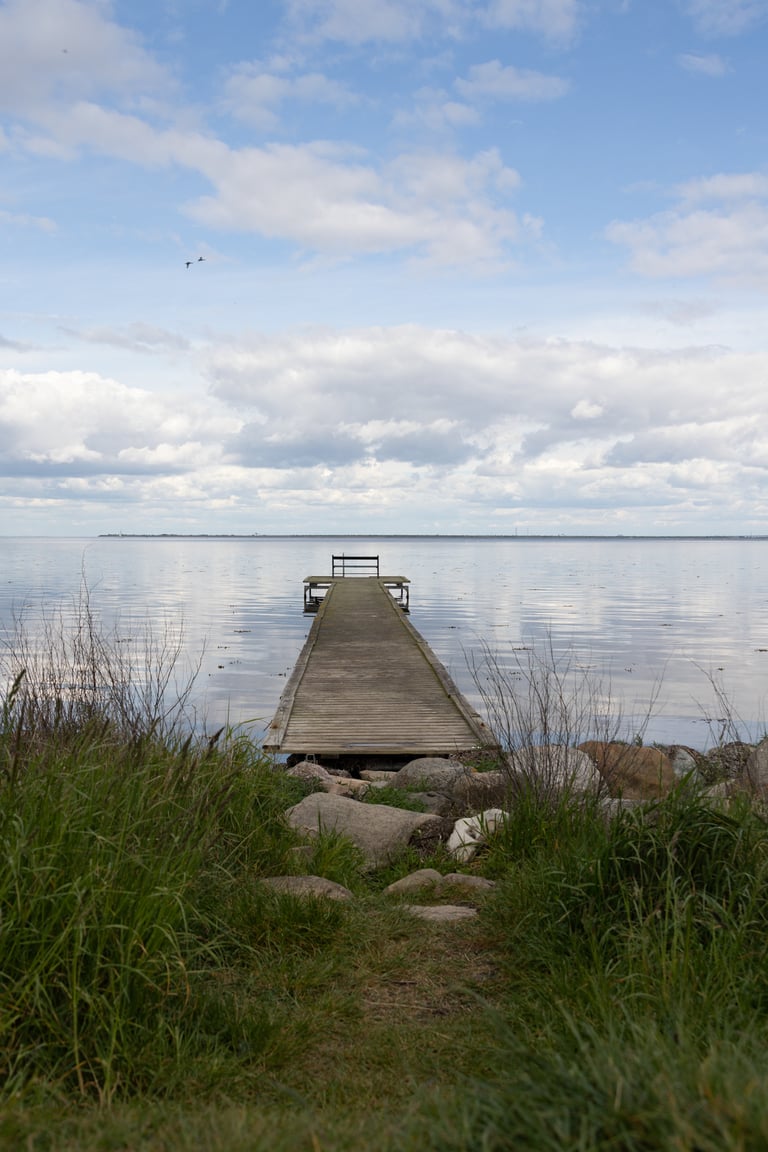
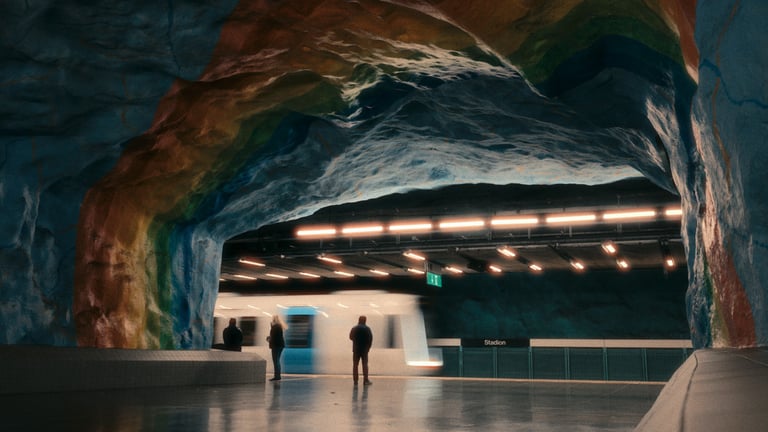
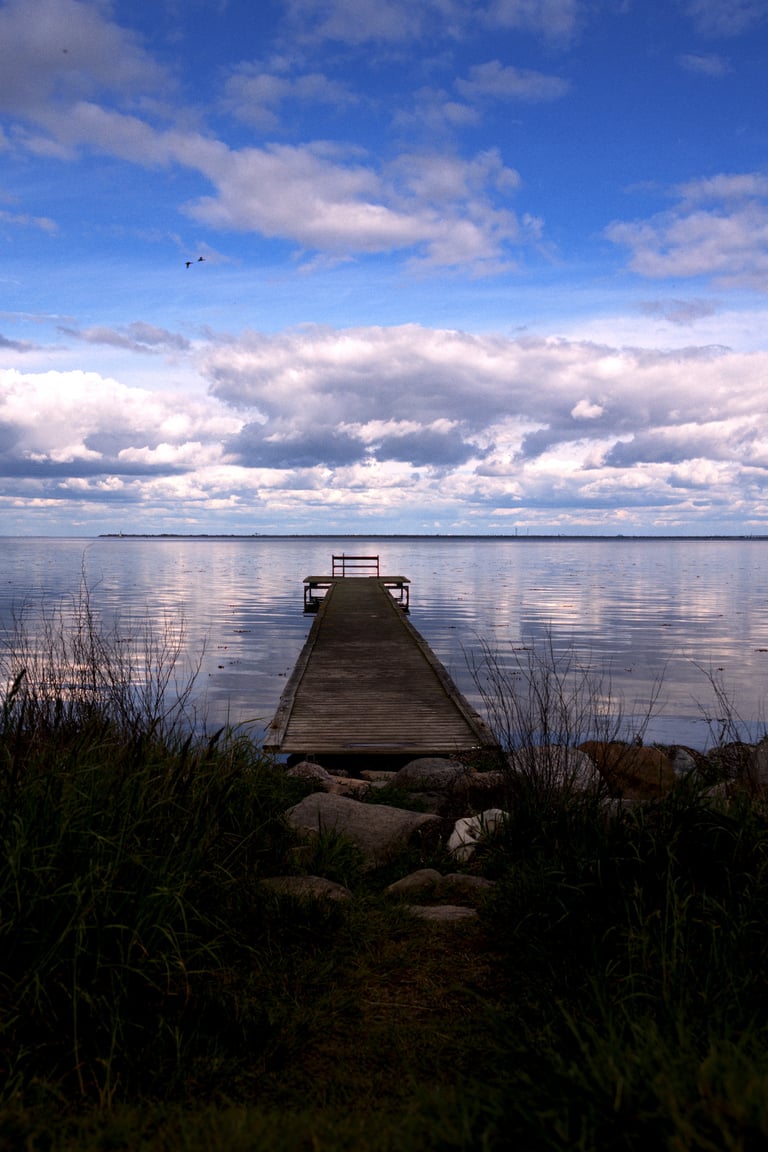
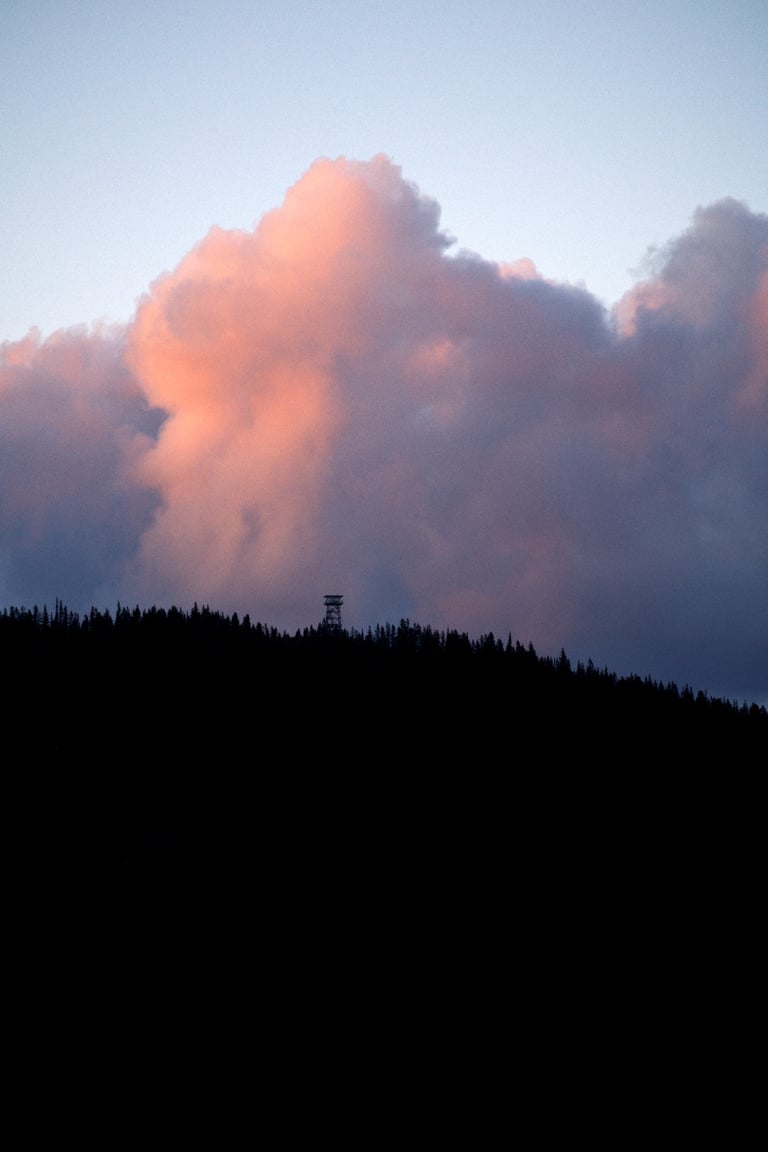
Before
Dehancer Provia 100F
A film profile is built by analyzing real analog media including negatives and optical prints. For each profile three different exposures are analyzed from -2EV 0EV +2EV allowing for smooth transitions between extreme adjustments.
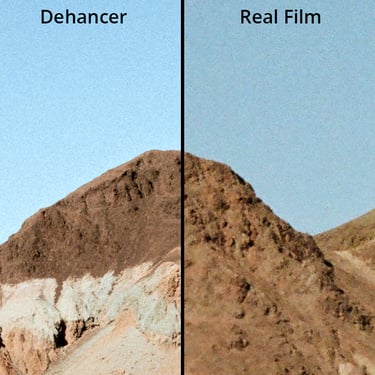
Matching Real Film
Before I had even installed Dehancer I knew that I wanted to try matching digital photos to real film scans. When I travel, I often have both my film camera and my digital camera. That gave me quite a few examples where I had a film scan and a fairly similar digital photo to work with. The first few attempts at matching lab scans was a slow and laborious process yielding okay but not great results. It really came down to two things that allowed me to actually create some in my opinion pretty damn convincing digital clones of lab scans.
Proficiency with Dehancer
Dehancer is a complex and powerful professional tool. It took time reading the documentation (which is excellent by the way) and editing photos to really understand what all the dials and knobs do. As well as when to use them and in what order. Being fully transparent with you it probably took me about 7 or 8 hours of using the plugin before I could use it quickly and effectively.
Final color grading in Lightroom
Once I was confident that I knew what I was doing in Dehancer. I was still facing some issues with getting 100% accurate matches. The effects like film grain were spot on but I just couldn't get the color to match 100% with the scan. Dehancer does offer tools for adjusting color but, the CMY color head they offer globally changes the color across the entire image and the tone controls they offer only control warmth/coolness individually within the highlights, midtones, and shadows. The issue I was facing most often was the sky color, luminance , or saturation being just a little off. My solution was to end my dehancer editing there and go for some light color grading in Lightroom. Initially this felt wrong to me. However, my thinking changed when I got some scans back from the lab during this project with some issues. The lab re-scanned the images for me and when I got the scans back I was blown away by how different the color and contrast was. I was quickly reminded how much the look of a scan or print is up to the person making it. Dehancer is great as getting an authentic film-like look but its not quite powerful enough at general color grading to exactly match every decision the lab tech made with specific scan. But, why reinvent the wheel those traditional color grading tools already exist.

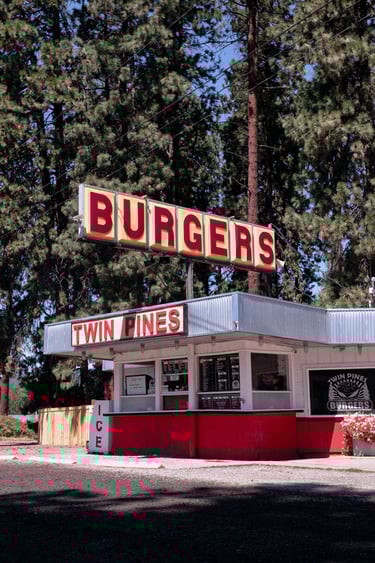
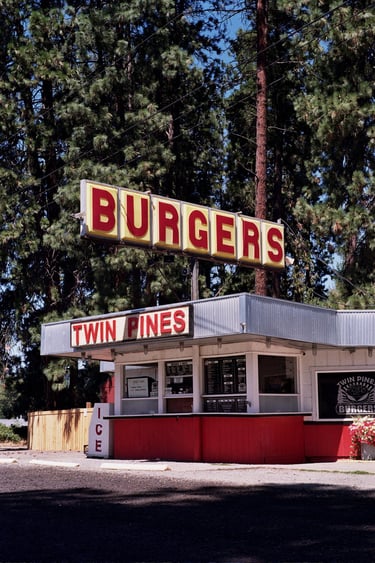

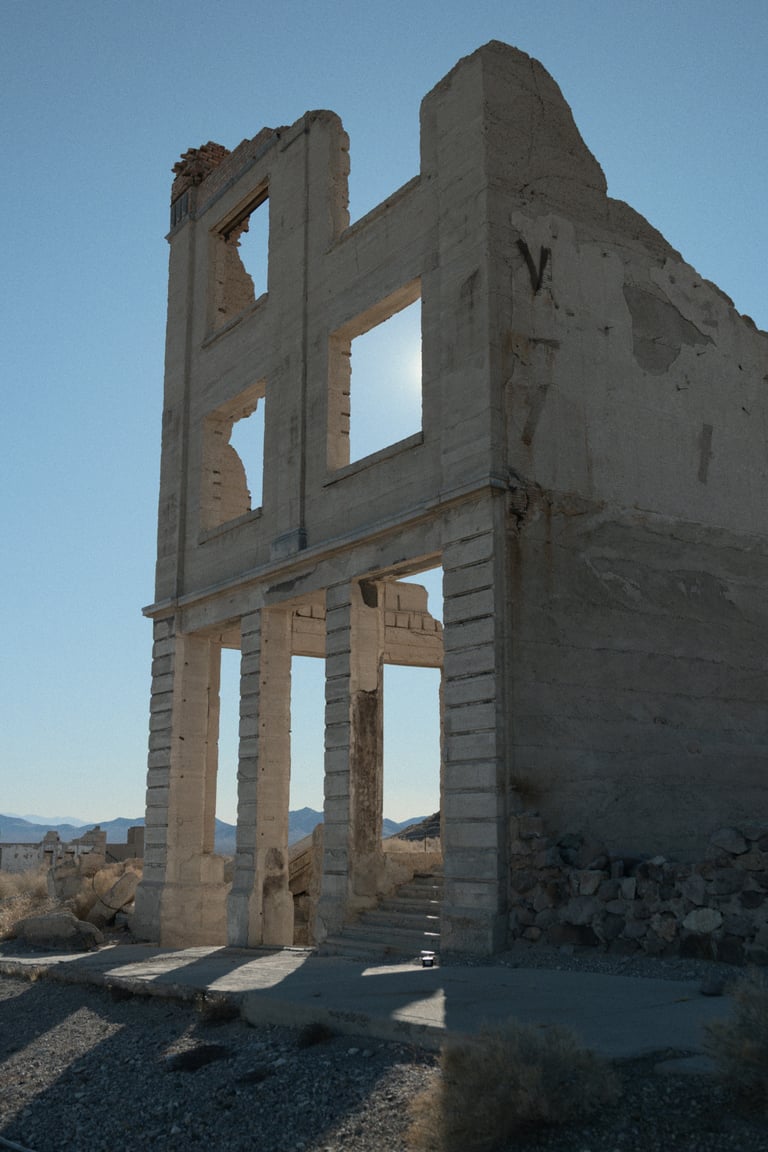
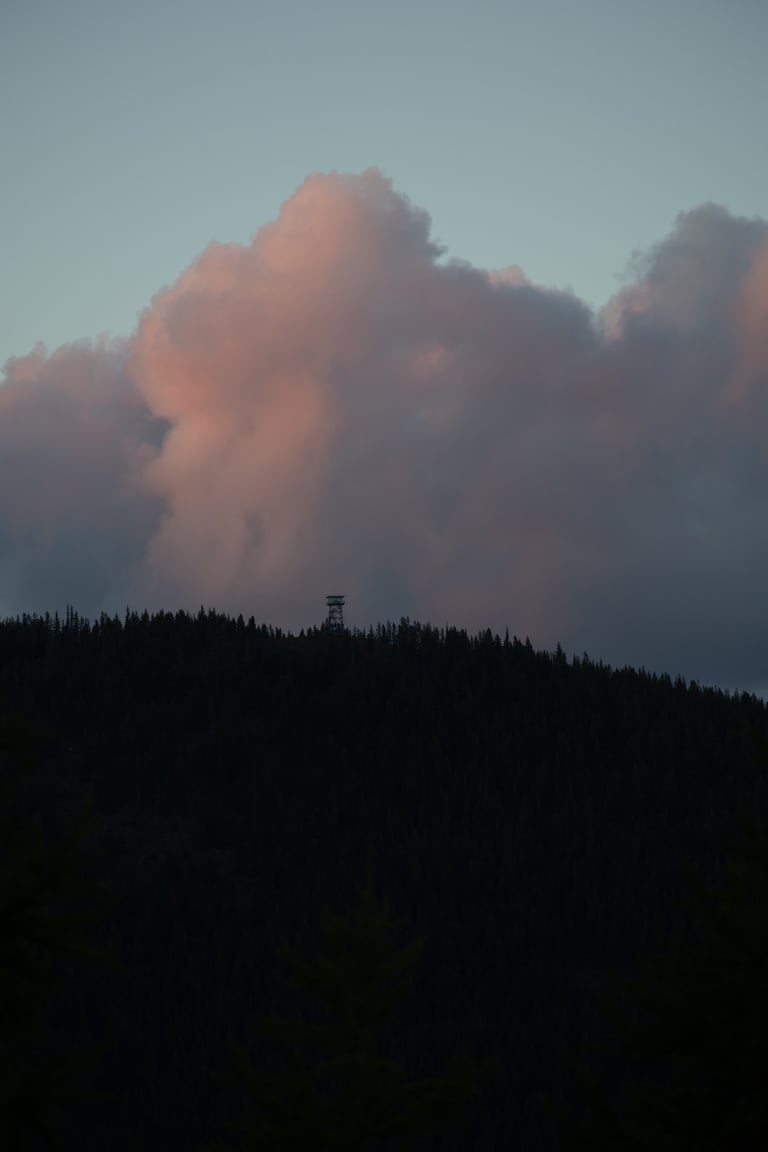
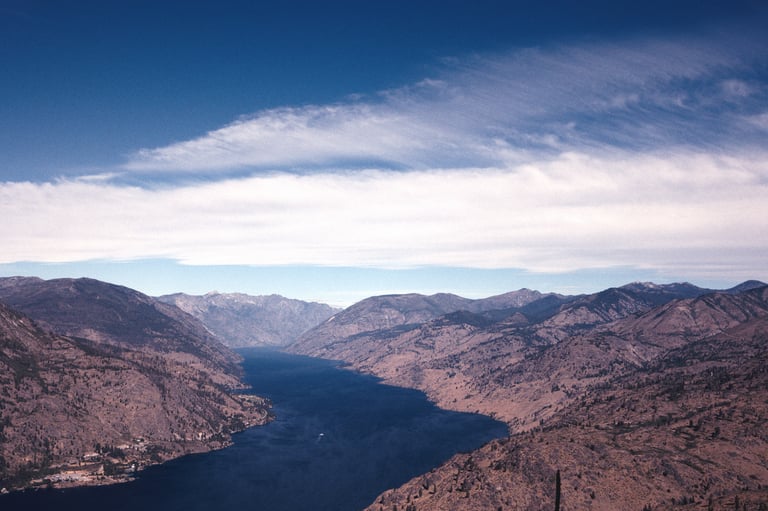
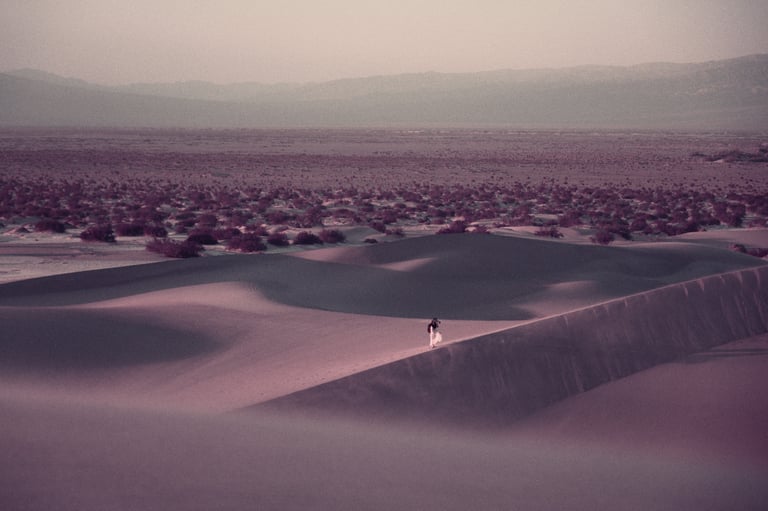
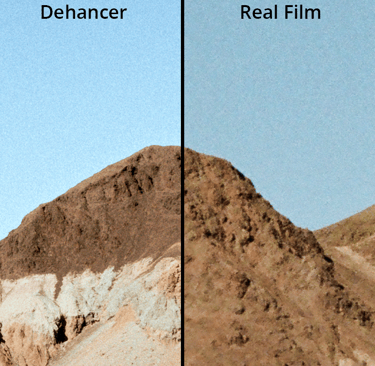
Dehancer Match
Fuji 200 Lab Scan
Try Dehancer
You can download and try all of Dehancer's products for free at dehancer.com it is a fully featured trial your images will just contain a watermark.
If you decide you want to buy Dehancer I have a discount code NFS10 that gets you 10% off any Dehancer license. Please note I earn a small commission when you use my code.
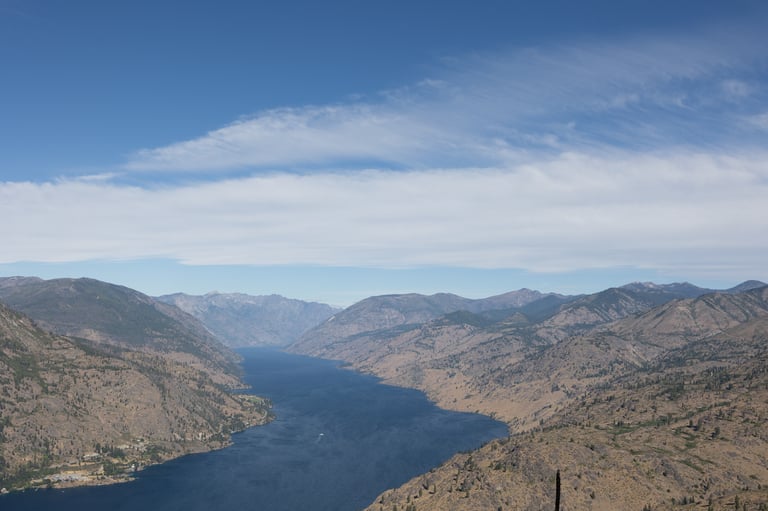
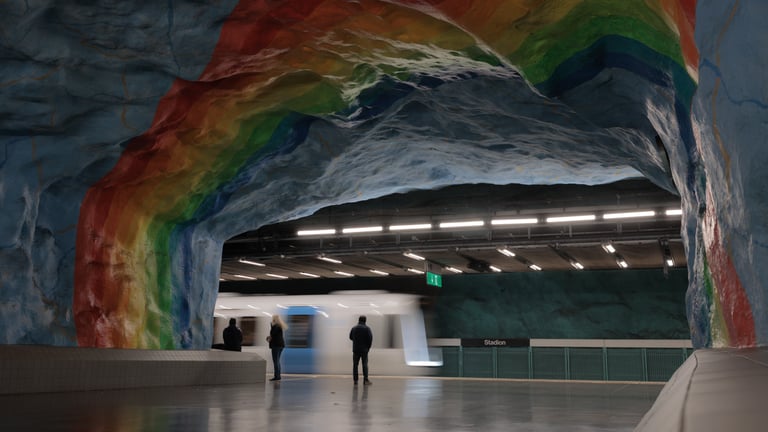

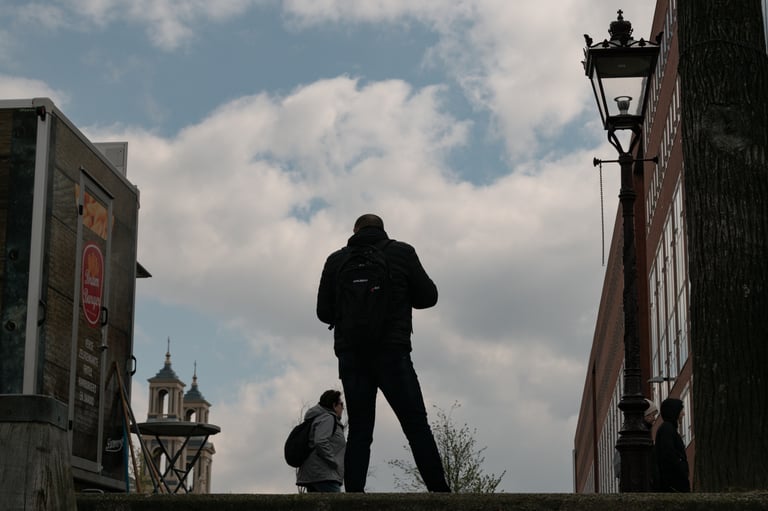
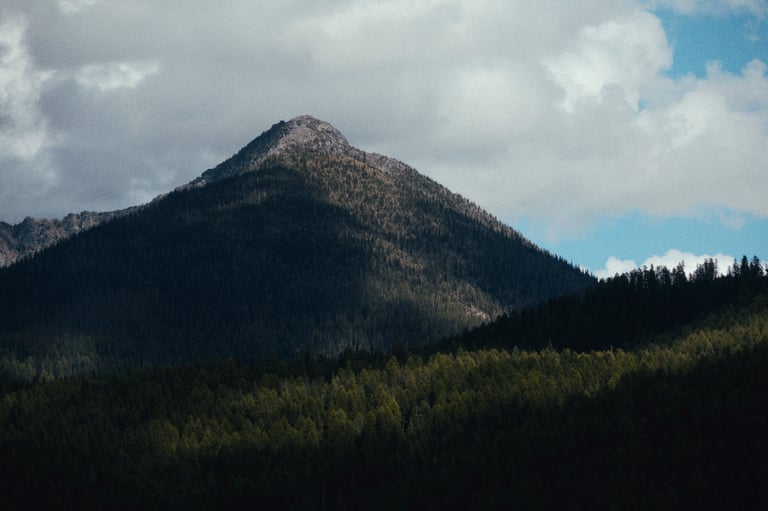
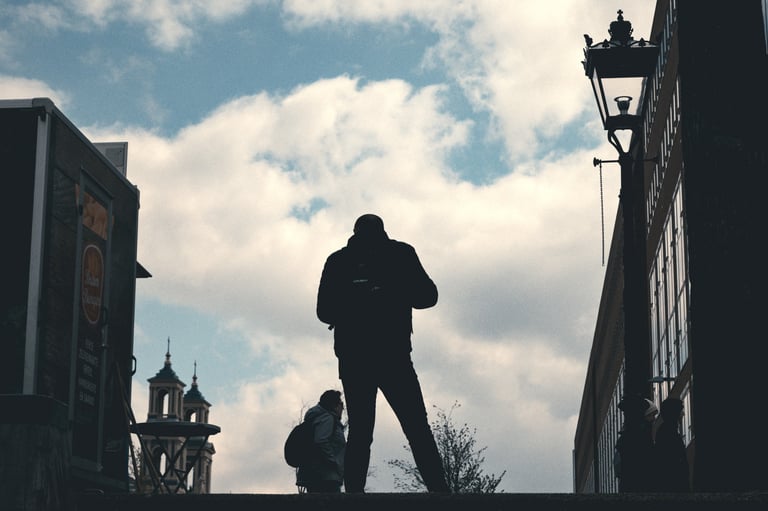
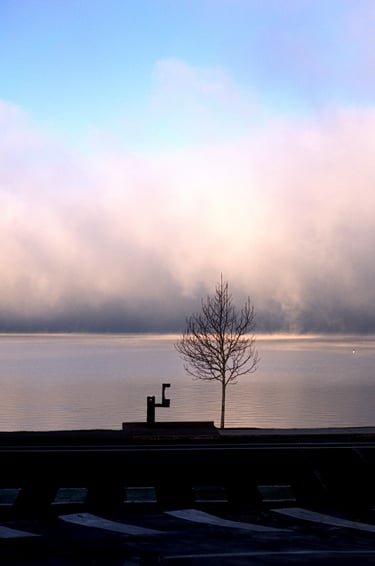
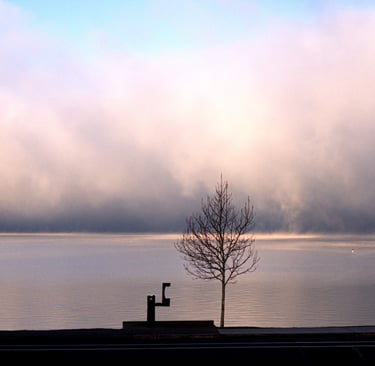
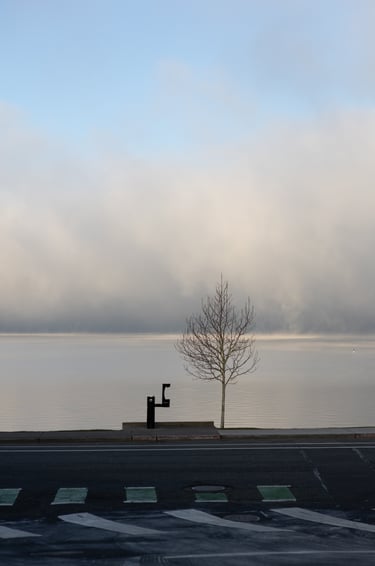
More Examples
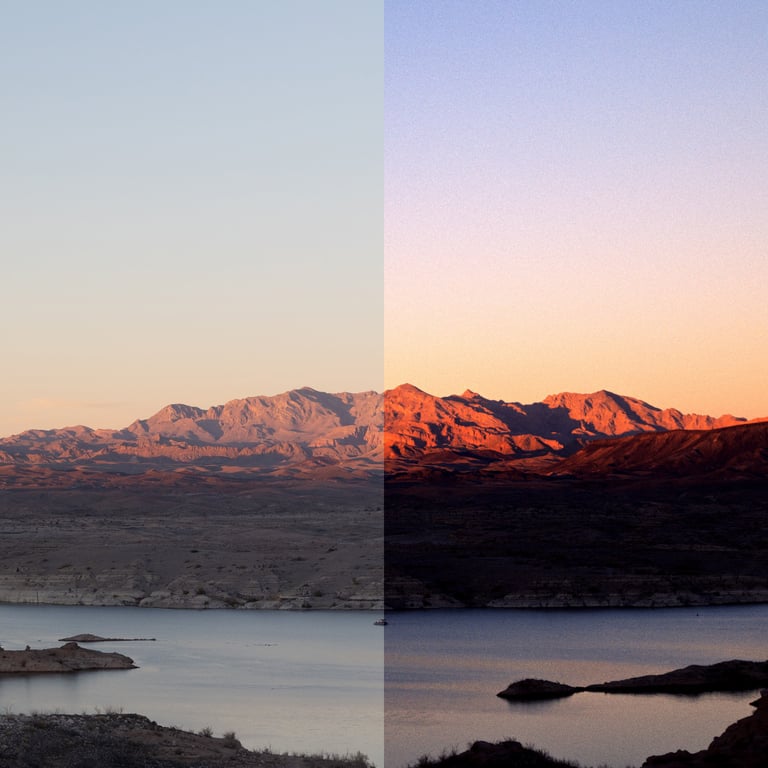
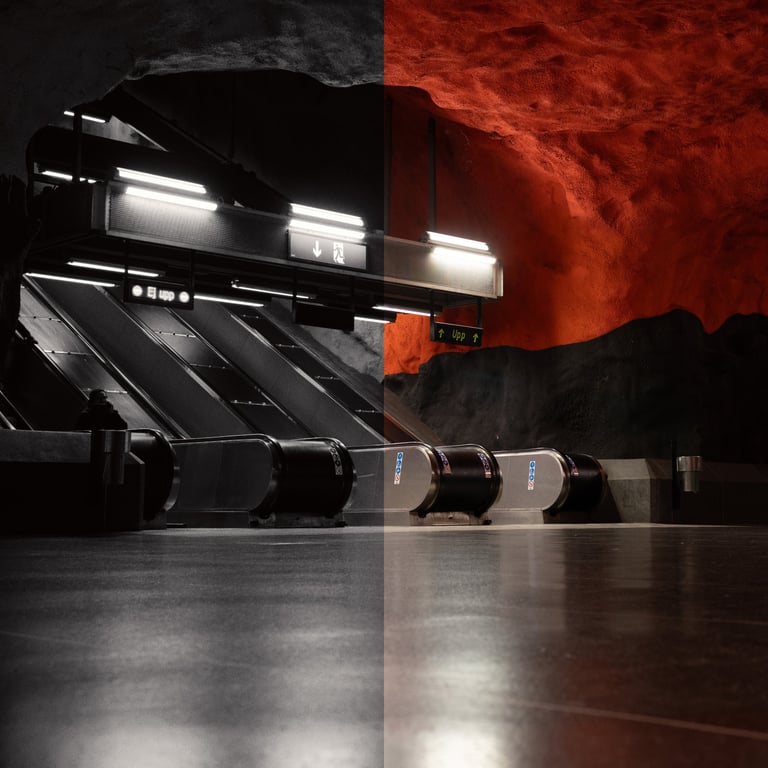
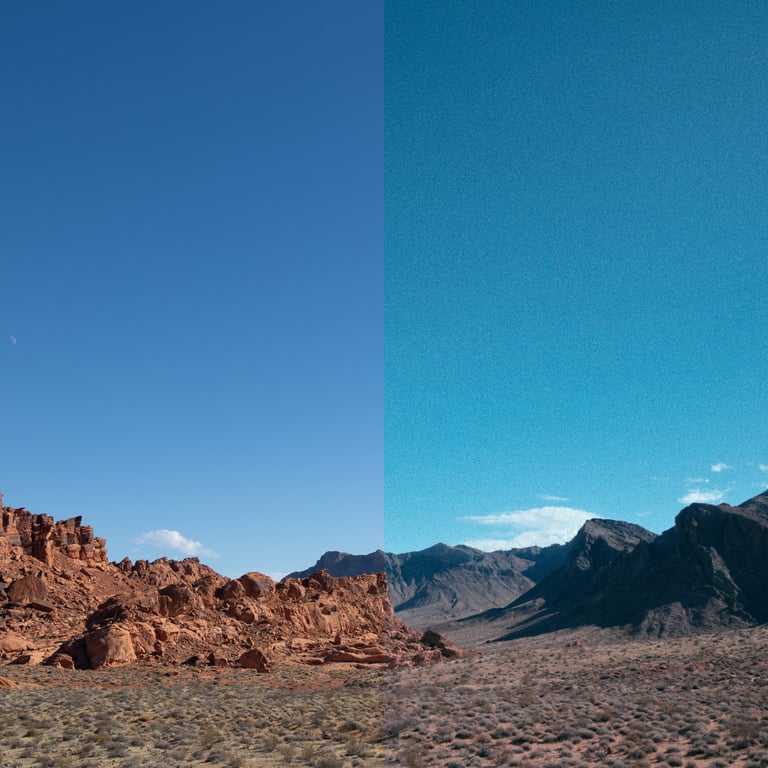
Each of the following photos shows the original digital photo followed by a Dehancer edit using the Lightroom Classic plugin. These photos are reduced size but they are still much better quality than what you can see on YouTube. Unfortunately YouTube compression almost completely erased effects like film grain from my video making it look nothing like the actual results I got locally.
Film-Like Effects
Dehancer offers quite an array of film-like effects including: film grain, halation, bloom, overscan, gate weave, film breath, and vignette. Halation is a really fun one which allows emulating the look of films like Cinestill. However, my favorite effect has to be film grain. In real film the entire image is made out of grains of silver metal and or dyes that have replaced grains of light sensitive silver halide crystals. This natural grain has some variance in the size and uniformity of the individual grains grains. The size of the grain in film is generally larger in faster (high ISO) films and more apparent in smaller form factors. Another aspect to note is typically film cannot resolve much detail smaller than the individual grains themselves. Dehancer has done a good job replicating this by digitally rebuilding the image out of artificial grain. Resulting in a computationally expensive but, very good looking simulated grain making far more accurate than an overlay or simple digital noise.
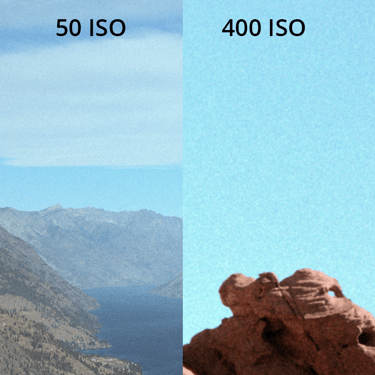
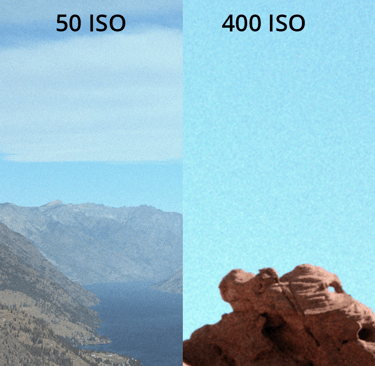
Dehancer using various ISOs
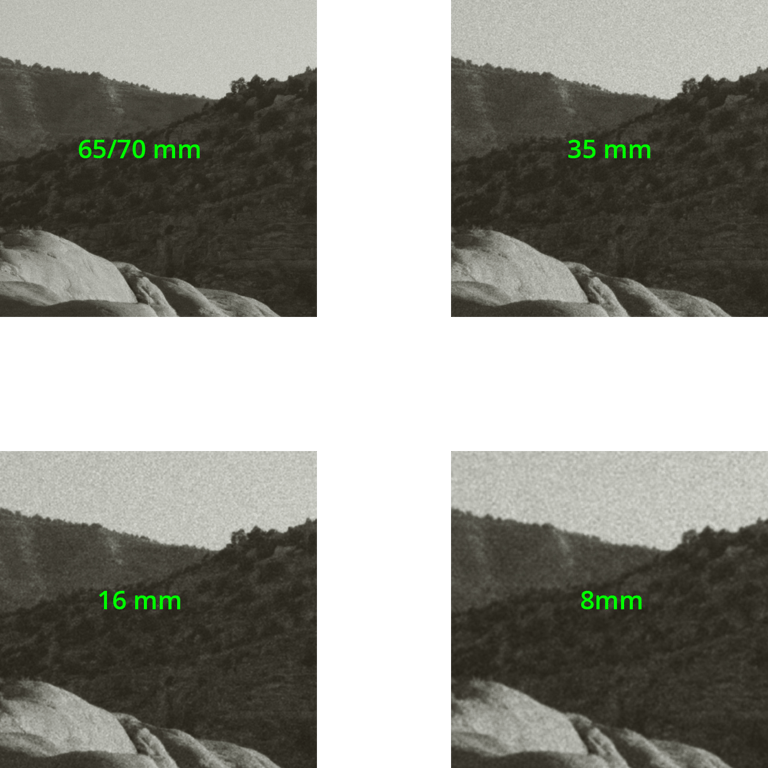
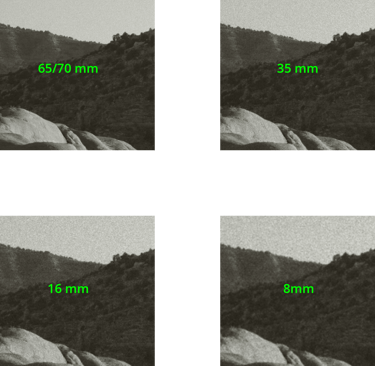
Dehancer using different film formats
Dehancer vs Colorplus
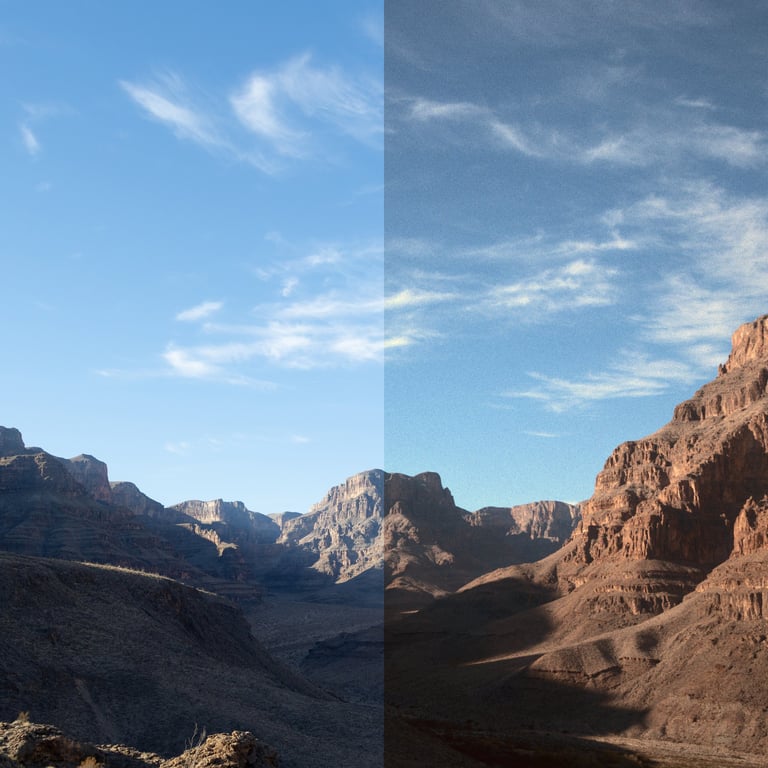
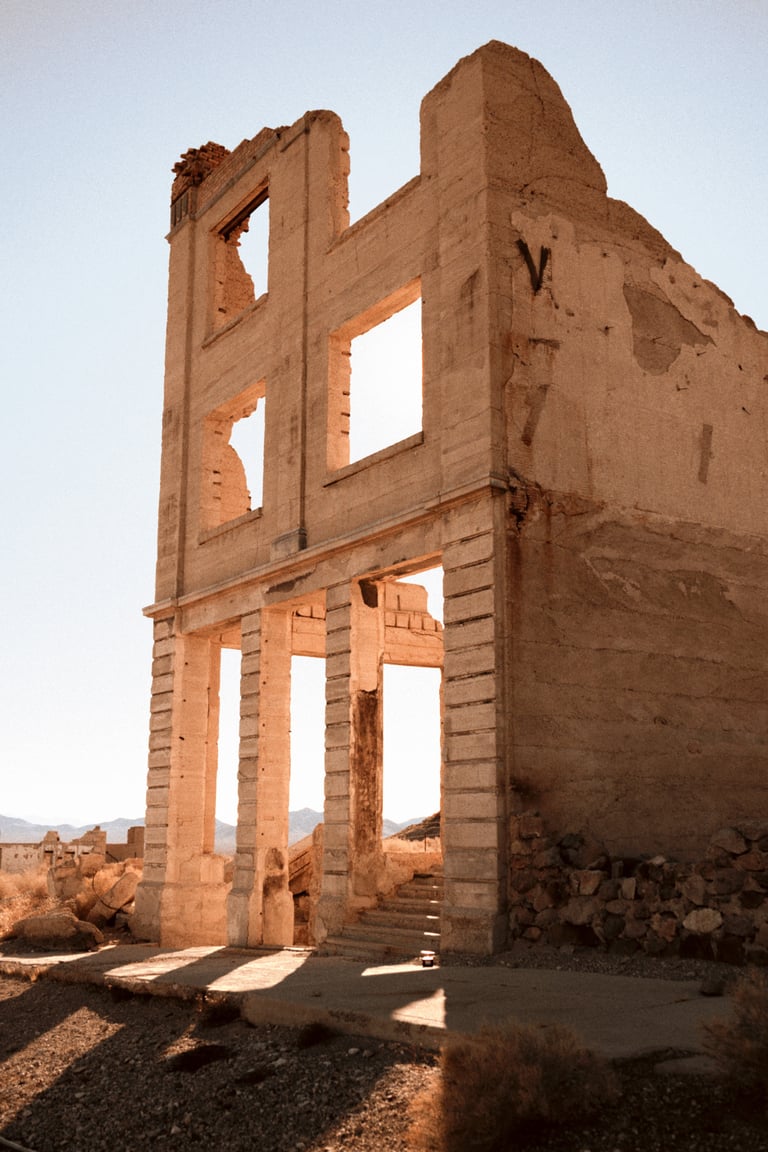
High Res before/after
Additional compression and size reduction occurs when I upload to my website but these should still be quite large.
Explore
Become part of the Never fStop photography journey
Inspire
© 2025. All rights reserved.